Sourdough Starter Tutorial
Hi Early Risers!
This information lives as a pinned post on my TikTok and Instagram, but I wanted it to have a forever place that is easy to find. I’ll share the images and also include extra tips and tricks that I have learned over the years. It can be extremely hard to make a starter from scratch, so while I think it’s amazing that you want to, just remember it’s totally ok to buy one! The best option out there is to get one from your local bakery. Buy a couple things, be friendly, leave a tip, and then gently ask if they’d be willing to share just a little bit with you. Remember, you don’t need a lot!! If you can’t do that, I trust Parker at Basil and Bloom and you can buy his fresh or dehydrated starters here. I do not sell mine but if you live locally (I live in San Francisco), I am happy to share mine with you, just message me! I also have a mini starter course here for just $19.
Here is my tutorial on making a brand new starter using water:
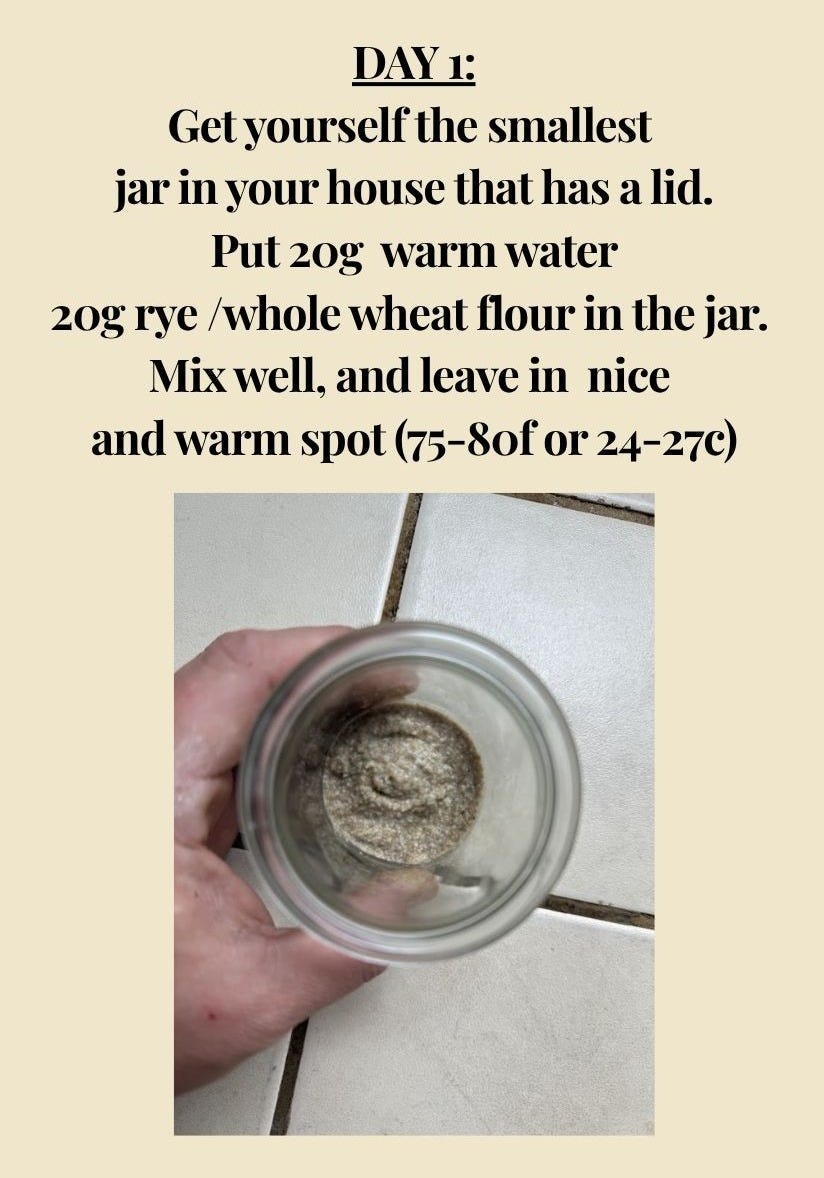
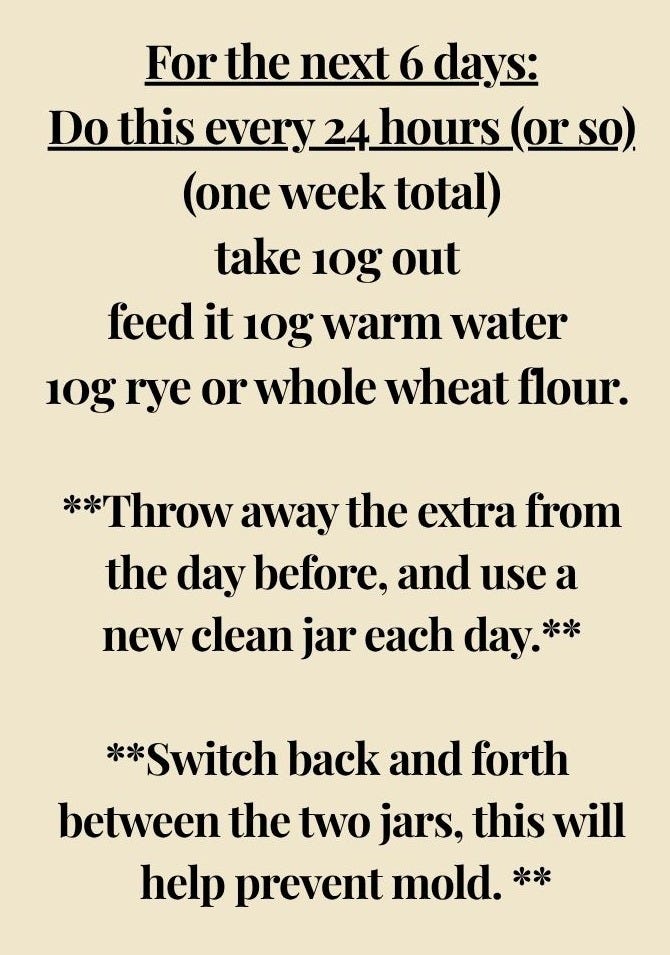
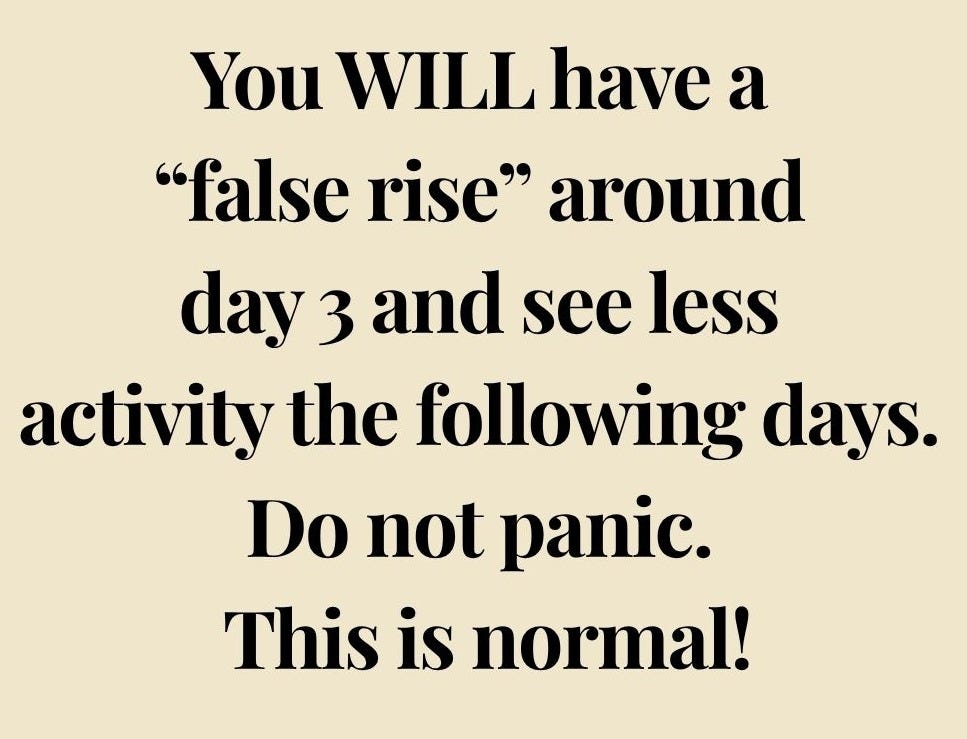
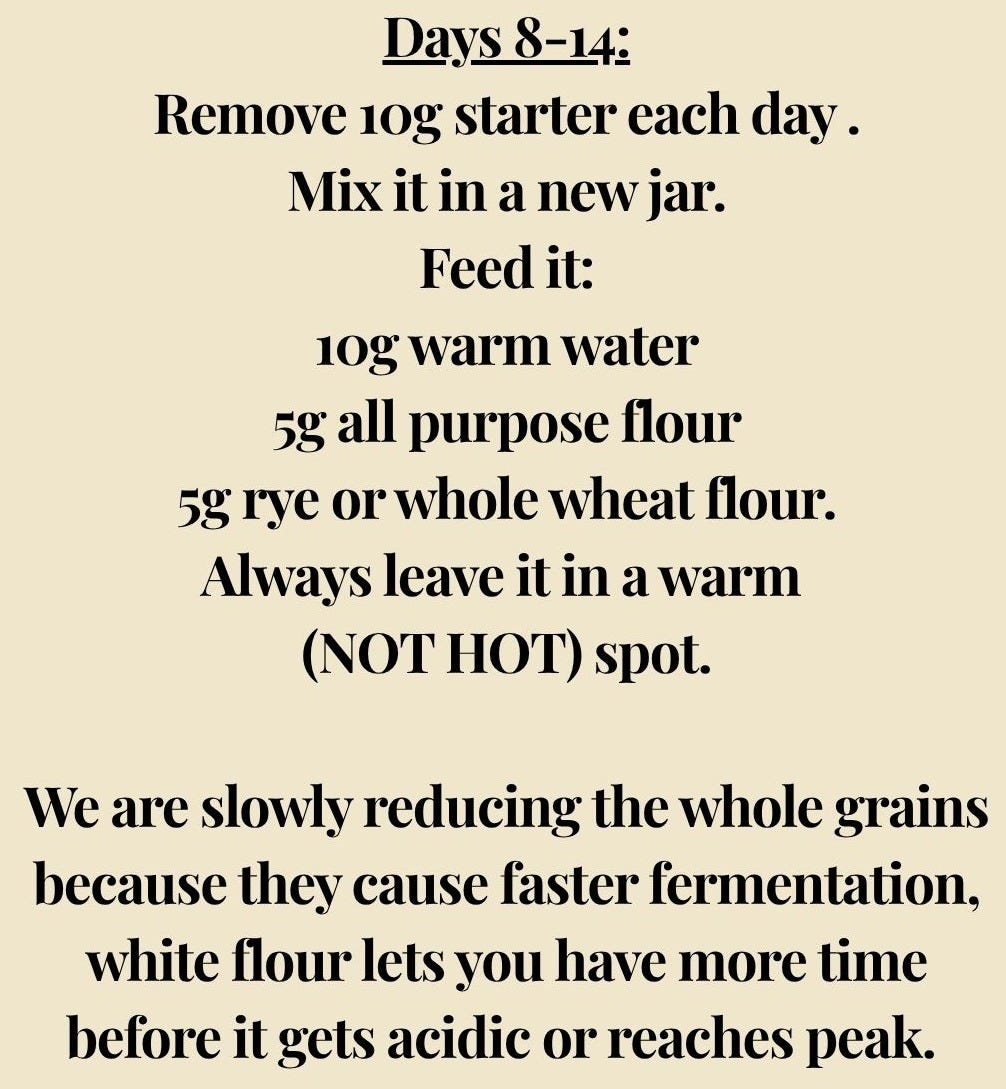
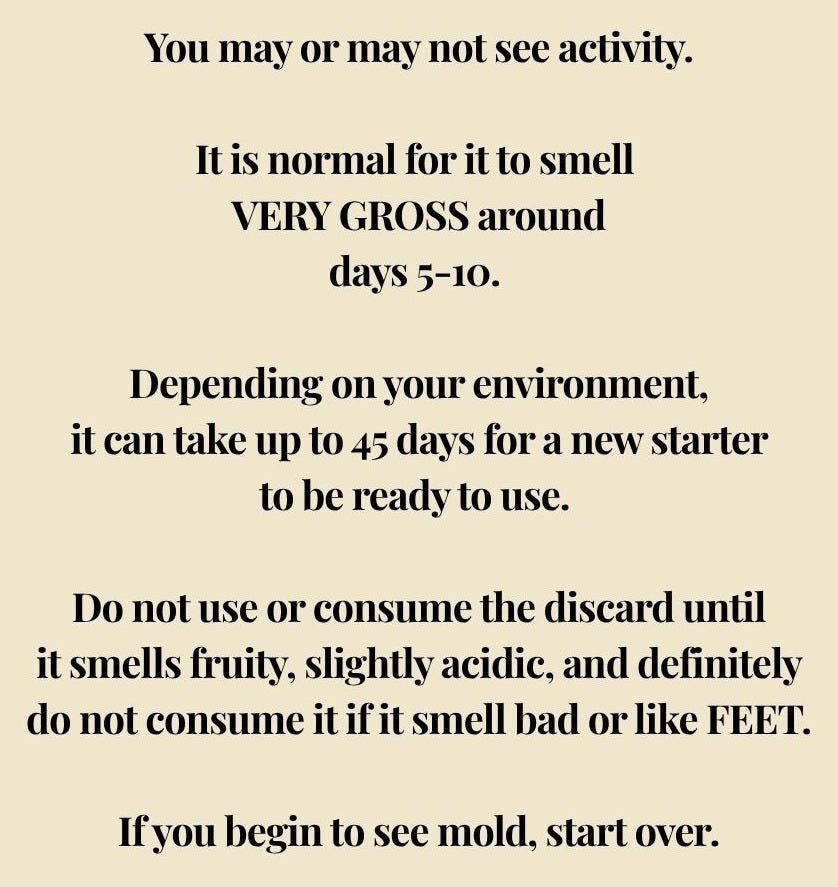

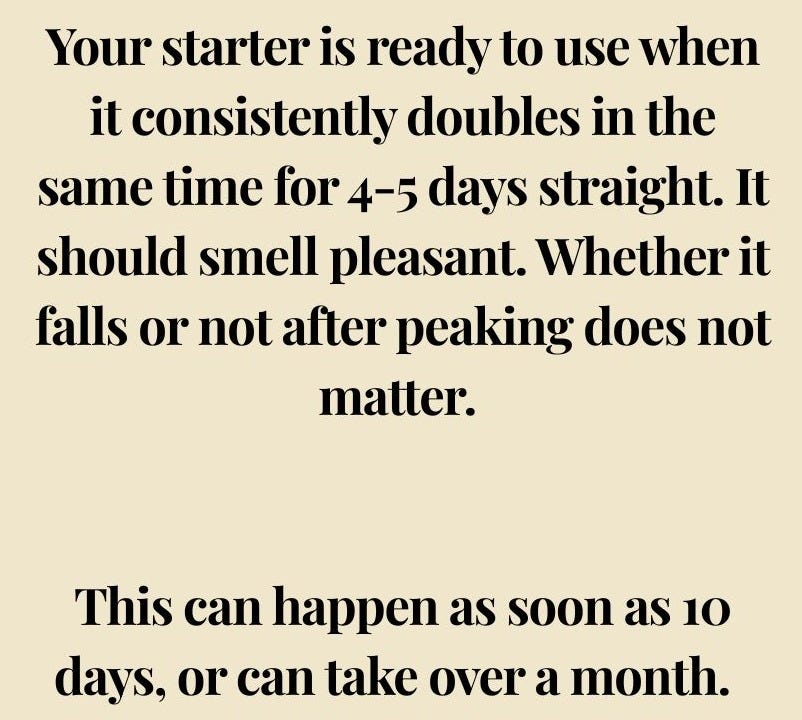
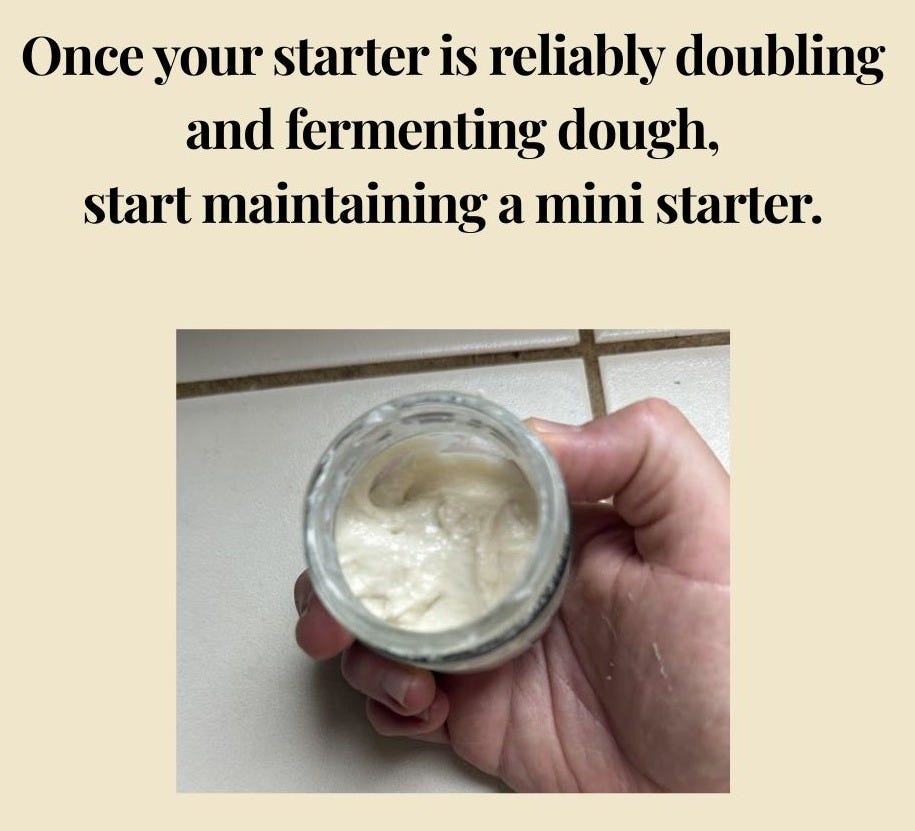
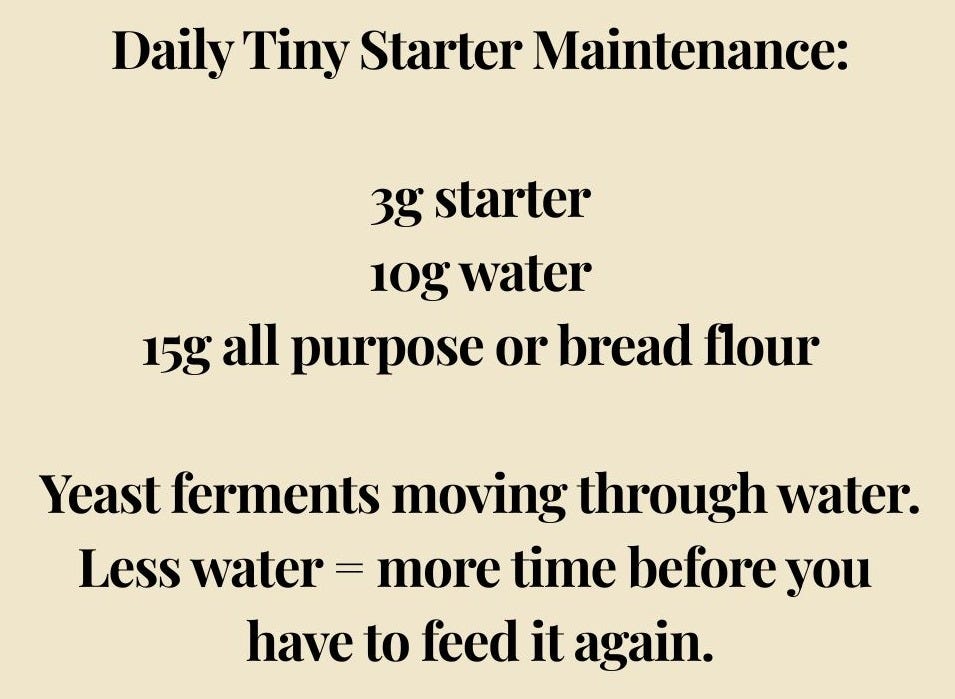
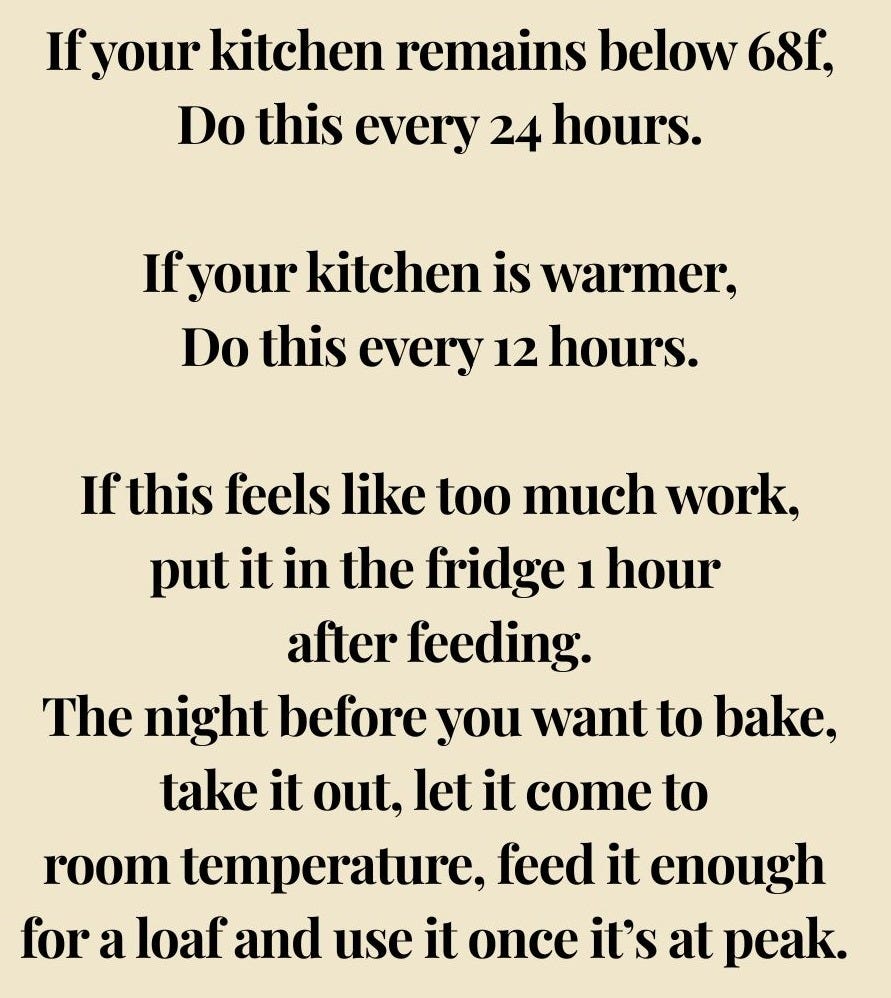
I hope this little image tutorial helps you when you are ready to make your own starter. Please remember that there is NO shame in buying a starter from a bakery or online! Within a few days, the microbiome of the starter will match YOU and your kitchen, so it is 100% yours.
THE PINEAPPLE JUICE METHOD!!! (Please check out all the information from Debra Wink who came up with this method).
Basically, do the whole process exactly the same but:
- On day 5, switch to water.
- By days 5-6 the starter should be really active, start to feed it twice a day.
- Try baking with it around day 7!!
- It will smell weird, like pineapple IPA, until you give it a couple of feeds with water.
- DO NOT USE FRESH PINEAPPLE JUICE! (It contains bromelain which messes everything up!) Use canned or a juice box, something that doesn’t have added sugar.
- If you don’t get a lot of activity by day 7, just give it a couple more days, do not get discouraged, it is still working better than just with water.
BUILDING UP YOUR TINY STARTER TO BAKE WITH:
- Take your 25-30 grams and feed it 40g warm water and 40g flour, which will get you JUST enough to make my country loaf. The remaining couple of grams will be perfect for continuing your tiny starter. This is about a 1:1.5:1.5, should be ready in 5 or so hours.**
- If you want to make more than a loaf, feed it the night before. If you want 200g for 2 loaves, feed 20g starter 100g water and 100g flour before bed and it should be ready to bake with in the morning.**
**These are approximations! Remember that temperature plays a major role in when your starter is ready.
Please leave me any questions or comments below. And remember about my course, here, if you’re still confused! It goes very in depth on all things starter. Thanks for reading, Early Riser. I hope you have a lovely day and a large oven spring!
Hugs,
Laila